Androidアプリの画面フィールドは、レイアウトXMLファイルで記述することが多いと思いますが、場合によっては何かのイベントをきっかけに、動的に追加・変更したいこともあります。
ボタンを押すと、そのたびにテキストフィールドを追加する構造を作ってみました。
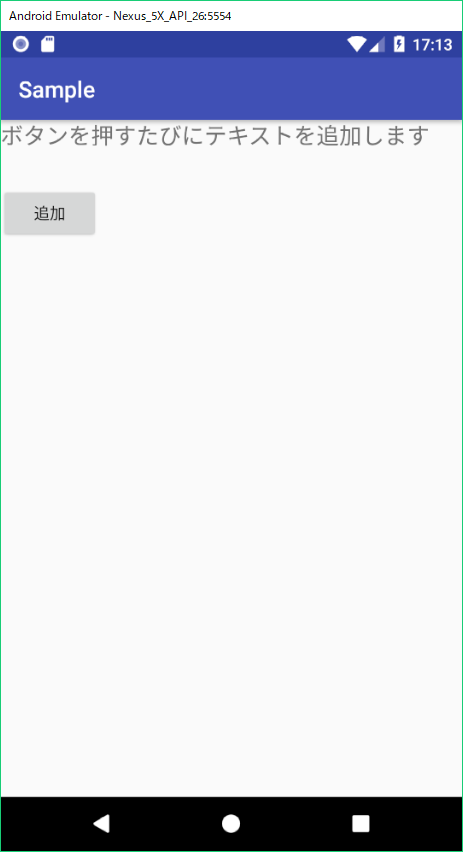
やりたいことは、初期画面で一つだけボタンを表示し、そのボタンを押すたびに、テキスト”hogehoge”を追加していく、というものです。
数が多くなったときのために、スクロールできるようにもしました。
初期画面はこんな感じ。
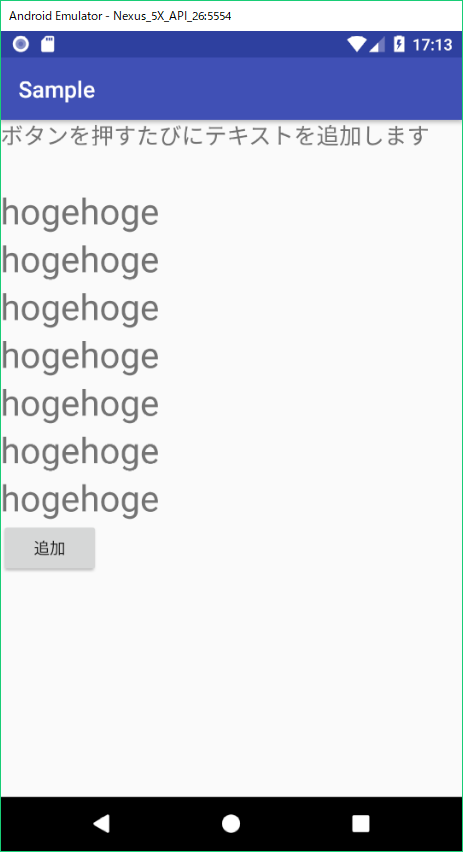
“追加”ボタンを押すたびに、テキスト”hogehoge”が追加されていきます。
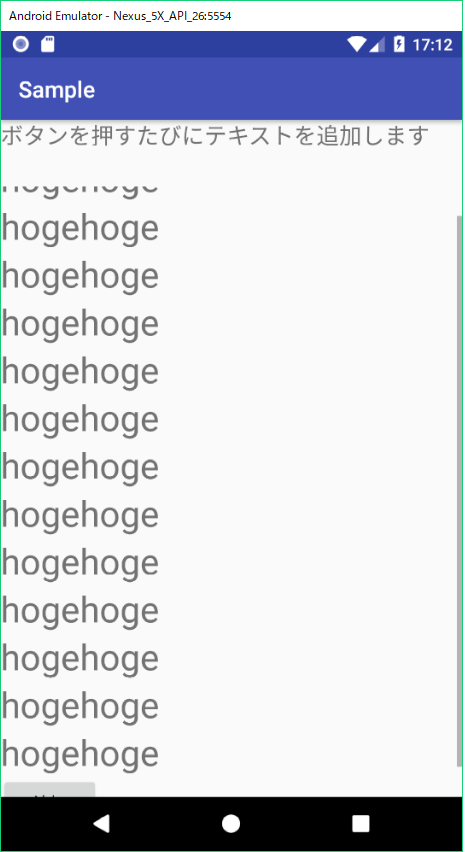
テキストが画面に収まりきらなくなると、タイトルだけを残してスクロールします。
このレイアウトは、次のような構成で定義されています。
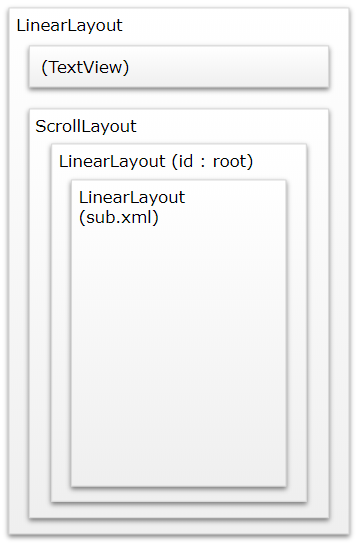
フィールドが追加される部分は、”ScrollLayout”と”LinearLayout”を組み合わせ、さらにその下部の”LinearLayout”を動的な追加対象としました。
一番内側のLinearLayoutが”hogehoge”を構成する部分で、ここだけメインのレイアウトXMLファイルとは別に定義しています。ここではファイル名を”sub.xml”という名称にしています。
これを一つ外側のLinearLayoutに動的に追加していきます。そのためにはこのLinearLayoutにidを付与しておく必要があり、”root”としています。
ではレイアウトXMLのソースコードです。
<LinearLayout
    xmlns:android="http://schemas.android.com/apk/res/android"
    android:layout_width="match_parent"
    android:layout_height="match_parent"
    android:orientation="vertical">

    <TextView
        android:id="@+id/et_Title"
        android:layout_width="wrap_content"
        android:layout_height="wrap_content"
        android:inputType="textPersonName"
        android:text="ボタンを押すたびにテキストを追加します"
        android:textSize="20dp"/>

    <ScrollView
        android:id="@+id/scrollView"
        android:layout_width="match_parent"
        android:layout_height="match_parent"
        android:layout_marginTop="32dp">

        <LinearLayout
            android:id="@+id/root"
            android:layout_width="match_parent"
            android:layout_height="wrap_content"
            android:orientation="vertical">

            <Button
                android:id="@+id/button"
                android:layout_width="wrap_content"
                android:layout_height="wrap_content"
                android:text="追加" />

        </LinearLayout>
    </ScrollView>

</LinearLayout>
<?xml version="1.0" encoding="utf-8"?>
<LinearLayout xmlns:android="http://schemas.android.com/apk/res/android"
    android:layout_width="match_parent"
    android:layout_height="match_parent">

    <TextView
        android:layout_width="match_parent"
        android:layout_height="match_parent"
        android:textSize="32dp"
        android:text="hogehoge"/>

</LinearLayout>
次にjavaソースコードを示します。
import android.content.Context;
import android.support.v7.app.AppCompatActivity;
import android.os.Bundle;
import android.view.LayoutInflater;
import android.view.View;
import android.widget.Button;
import android.widget.EditText;
import android.widget.LinearLayout;
import android.widget.TextView;

public class MainActivity extends AppCompatActivity {

    private LinearLayout rootView;
    private LayoutInflater inflater;

    @Override
    protected void onCreate(Bundle savedInstanceState) {
        super.onCreate(savedInstanceState);
        setContentView(R.layout.activity_main);

        rootView = findViewById(R.id.root);
        inflater = (LayoutInflater) getSystemService(Context.LAYOUT_INFLATER_SERVICE);

        Button b = findViewById(R.id.button);
        SampleListener sl = new SampleListener();
        b.setOnClickListener(sl);

    }

    private class SampleListener implements View.OnClickListener {

        @Override
        public void onClick(View view) {
            View subView = inflater.inflate(R.layout.sub, null);
            rootView.addView(subView, rootView.getChildCount() - 1);

        }
    }
}
onClickメソッドでsub.xmlのViewを呼び出し、id:rootのLinearLayoutに追加していきます。
ここでaddViewメソッドの第2引数は、要素の最後から2番目、つまり”追加”ボタンの前にaddすることを意味しています。
sub.xmlの内容を増やせば、要素を追加したり、より複雑な処理を入れることもできます。