自作のAndroidアプリにAdMob広告を表示する手順を紹介します。
広告の種類は色々ありますが、ここではバナー広告を取り上げます。
目次
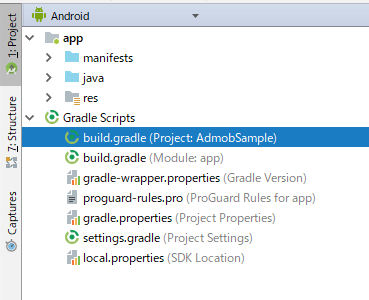
プロジェクトレベルのbuild.gradleの編集
まず、プロジェクトレベルのbuild.gradleを表示します。
allprojects {
    repositories {
        google()
        jcenter()
    }
}
allprojectsセクションに、上記の様にgoogleディレクティブがあることを確認し、なければ追加します。
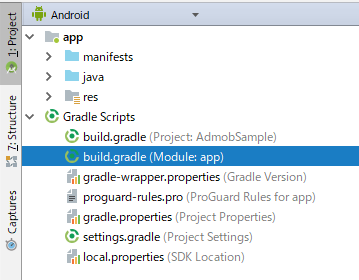
アプリケーションレベルのbuild.gradleの編集
次に、アプリケーションレベルのbuild.gradleを表示します。
dependencies {
    implementation fileTree(dir: 'libs', include: ['*.jar'])
    implementation 'com.android.support:appcompat-v7:28.0.0'
    implementation 'com.google.android.gms:play-services-ads:17.1.1'
    implementation 'com.android.support.constraint:constraint-layout:1.1.3'
    testImplementation 'junit:junit:4.12'
    androidTestImplementation 'com.android.support.test:runner:1.0.2'
    androidTestImplementation 'com.android.support.test.espresso:espresso-core:3.0.2'
}
上記4行目の様に、dependenciesセクションに”implementation ‘com.google.android.gms:play-services-ads:17.1.1′”を記述します。
記載したら、Gradleをsyncします。
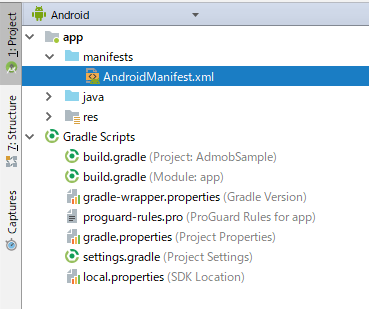
AndroidManifest.xmlの編集
次にAndroidManifest.xmlを開いて編集します。
<?xml version="1.0" encoding="utf-8"?>
<manifest xmlns:android="http://schemas.android.com/apk/res/android"
    package="com.example.admobsample">

    <application
        android:allowBackup="true"
        android:icon="@mipmap/ic_launcher"
        android:label="@string/app_name"
        android:roundIcon="@mipmap/ic_launcher_round"
        android:supportsRtl="true"
        android:theme="@style/AppTheme">
        <activity android:name=".MainActivity">
            <intent-filter>
                <action android:name="android.intent.action.MAIN" />

                <category android:name="android.intent.category.LAUNCHER" />
            </intent-filter>
        </activity>
        <!-- Sample AdMob App ID: ca-app-pub-3940256099942544~3347511713 -->
        <meta-data
            android:name="com.google.android.gms.ads.APPLICATION_ID"
            android:value="ca-app-pub-3940256099942544~3347511713"/>
    </application>

</manifest>
上記の様にmeta-dataタグを追加します。
android:value属性の値にはAdMobに登録したアプリIDを入れる必要がありますが、ここではAdMobが公開しているサンプルIDを用いました。
レイアウトファイルの編集
次にレイアウトファイルを編集します。
広告を表示したいレイアウトxml(ここではデフォルトのactivity_main.xml)を開き、AdViewを配置します。
下記の<com.google.android.gms.ads.AdView>タグの部分です。アプリIDは実際はAdMobに登録した自分のアプリのものを使いますが、ここではAdMobが公開しているサンプルIDを使用しました。
<?xml version="1.0" encoding="utf-8"?>
<android.support.constraint.ConstraintLayout xmlns:android="http://schemas.android.com/apk/res/android"
    xmlns:app="http://schemas.android.com/apk/res-auto"
    xmlns:tools="http://schemas.android.com/tools"
    android:layout_width="match_parent"
    android:layout_height="match_parent"
    tools:context=".MainActivity">

    <TextView
        android:layout_width="wrap_content"
        android:layout_height="wrap_content"
        android:text="Hello World!"
        app:layout_constraintBottom_toBottomOf="parent"
        app:layout_constraintLeft_toLeftOf="parent"
        app:layout_constraintRight_toRightOf="parent"
        app:layout_constraintTop_toTopOf="parent" />

    <com.google.android.gms.ads.AdView
        xmlns:ads="http://schemas.android.com/apk/res-auto"
        android:id="@+id/adView"
        android:layout_width="wrap_content"
        android:layout_height="wrap_content"
        android:layout_centerHorizontal="true"
        android:layout_alignParentBottom="true"
        ads:adSize="BANNER"
        ads:adUnitId="ca-app-pub-3940256099942544/6300978111">
    </com.google.android.gms.ads.AdView>

</android.support.constraint.ConstraintLayout>
Activityの編集
最後にActivityを編集します。
広告を表示したいActivity(ここではデフォルトのMainActivity.java)のonCreateメソッドに初期化処理を追記します。引数には本来なら自分のアプリIDをセットしますが、ここでも上記までと同様、AdMobが公開しているサンプルIDを使用しています。
更に、広告をロードする処理を入れます。
import android.support.v7.app.AppCompatActivity;
import android.os.Bundle;

import com.google.android.gms.ads.AdRequest;
import com.google.android.gms.ads.AdView;
import com.google.android.gms.ads.MobileAds;

public class MainActivity extends AppCompatActivity {
    private AdView mAdView;
    @Override
    protected void onCreate(Bundle savedInstanceState) {
        super.onCreate(savedInstanceState);
        setContentView(R.layout.activity_main);

        // AdMob広告の初期化. アプリIDはAdMobが公開しているサンプルID
        MobileAds.initialize(this, "ca-app-pub-3940256099942544~3347511713");

        // AdMob広告をロードする
        mAdView = findViewById(R.id.adView);
        AdRequest adRequest = new AdRequest.Builder().build();
        mAdView.loadAd(adRequest);

    }
}
アプリの実行・広告表示確認
アプリを実行してみます。少し時間はかかりますが、以下の様にテスト広告が表示されているのがわかります。
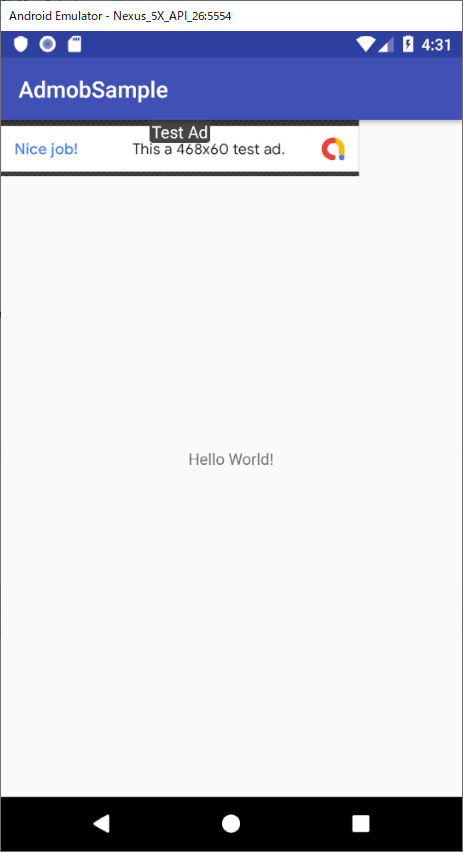
この後、広告のサイズを調整したり表示時の制御を実装したりと、細かく手を入れていくことになります。